That's it, summer has arrived, and with it the holidays are fast approaching!
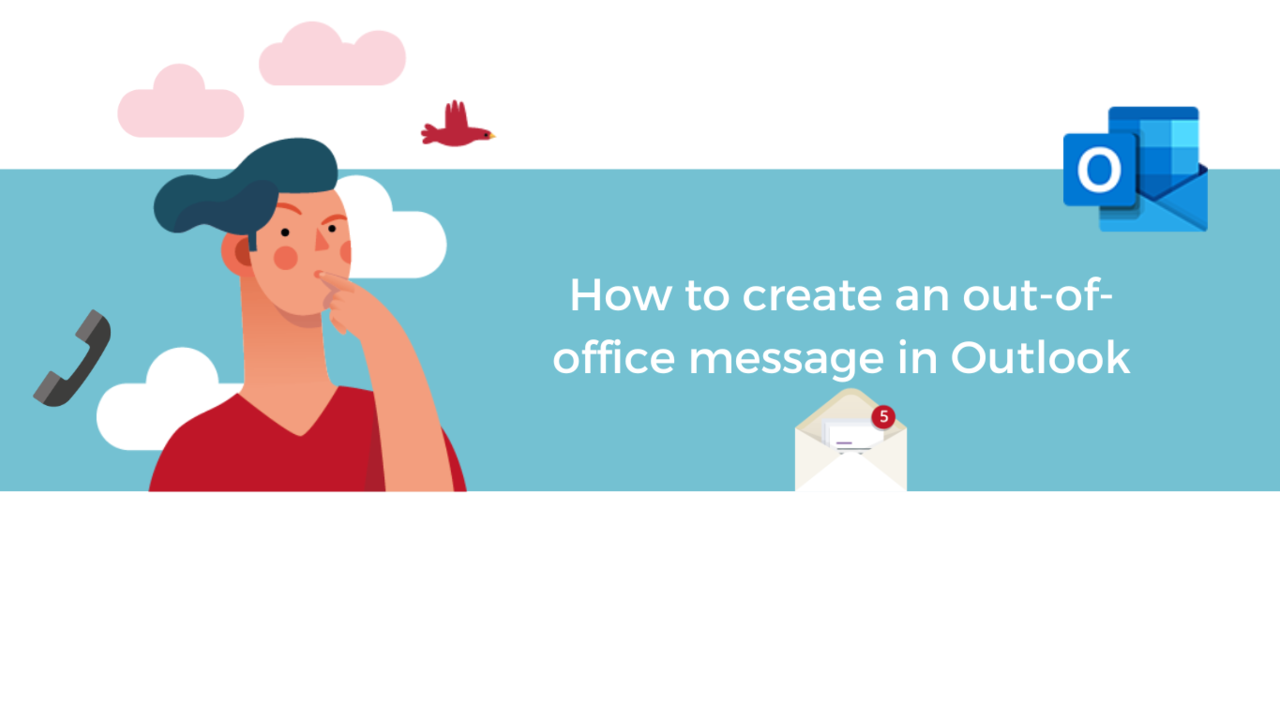
When you want to organize and plan your departure (and no, we are not talking about suitcases or plane tickets here), one of the first things you need to do before taking leave and leaving the office for the sun is to put an out-of-office message in your Outlook mailbox to warn your colleagues and customers that you will be away.
Step 1: The "File" tab of your mailbox
To start, go to the "File" tab at the top left of your mailbox and select "Automatic Replies (Out of Office)" in the "Info" menu.
Step 2: Set time slots
When the "Automatic Replies" pop-up opens, check "Send automatic replies".
You can then configure the "date and time" options so that automatic replies automatically turn on and off on the dates and times you choose.
Step 3: Write an out-of-office message
In the "Inside my organization" tab just below, you can type the response your colleagues will receive when they try to email you while you are away.
A second part "Outside my organization" is at your disposal to configure the email of absence that contacts who are not part of your company (suppliers, customers, etc...) will receive.
You can then configure these emails so they are only sent to your contacts or to anyone who is not part of your company and wants to contact you.
Once this is done, click on the "Ok" button. When your Outlook mailbox is set up to send out-of-office messages, a small yellow banner appears at the top of your email, below the functions ribbon.
Step 4: Manually turn off automatic replies
To disable automatic replies from Microsoft Outlook when you return, there are 3 options:
- First, if you have decided to set up during a specific time slot, automatic replies will automatically turn off when you're back in the office.
- Second, click the "Disable" button in the small yellow banner in your email.
- Third, it is possible to disable this information manually when you return from leave directly in the "File" tab and the "Automatic Replies" menu by choosing to check "Do not send automatic replies" and click on the "Ok" button.
Discover our Outlook training courses!
📞 Contact us:
📧 Email: support@dileap.com
Follow us on LinkedIn for the latest scoop!